A couple years ago, we began producing Unpacking Coffee, our own video podcast (50 episodes and counting!) as well as numerous video projects for clients. While ramping up for this work, we began amassing a budget-conscious set-up for filming. Here are the lessons we learned along the way.
Location and Lighting
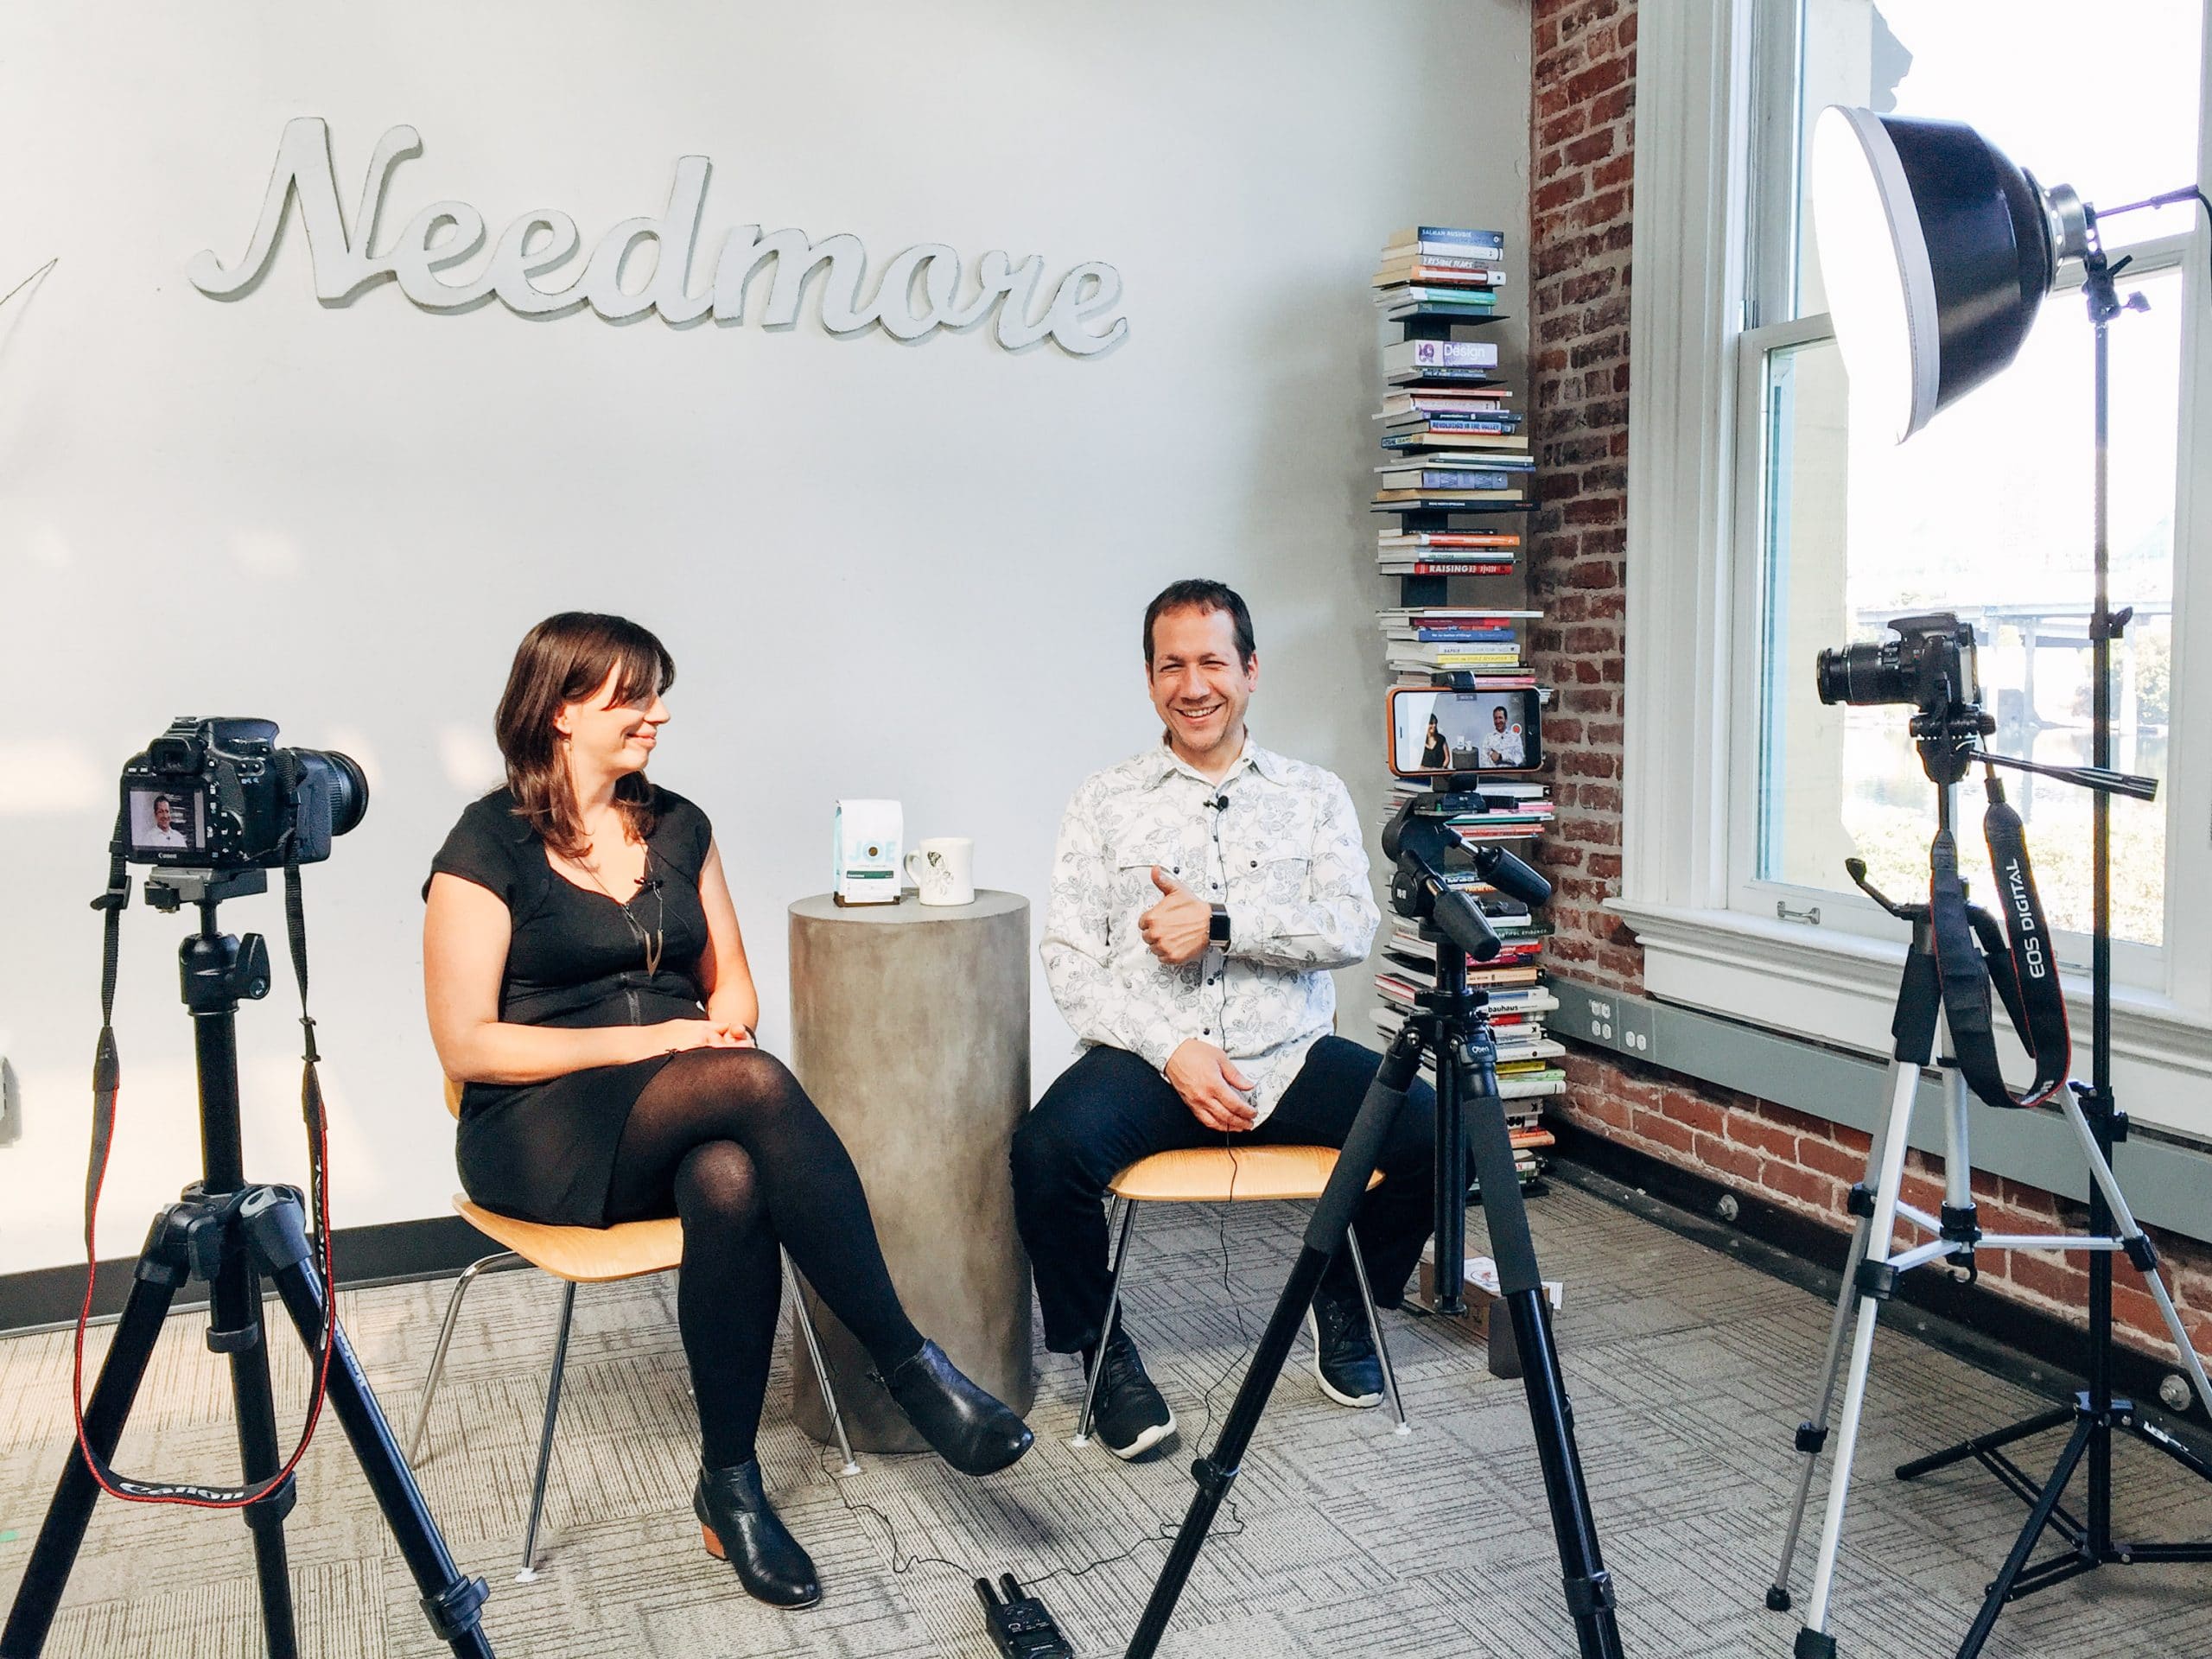
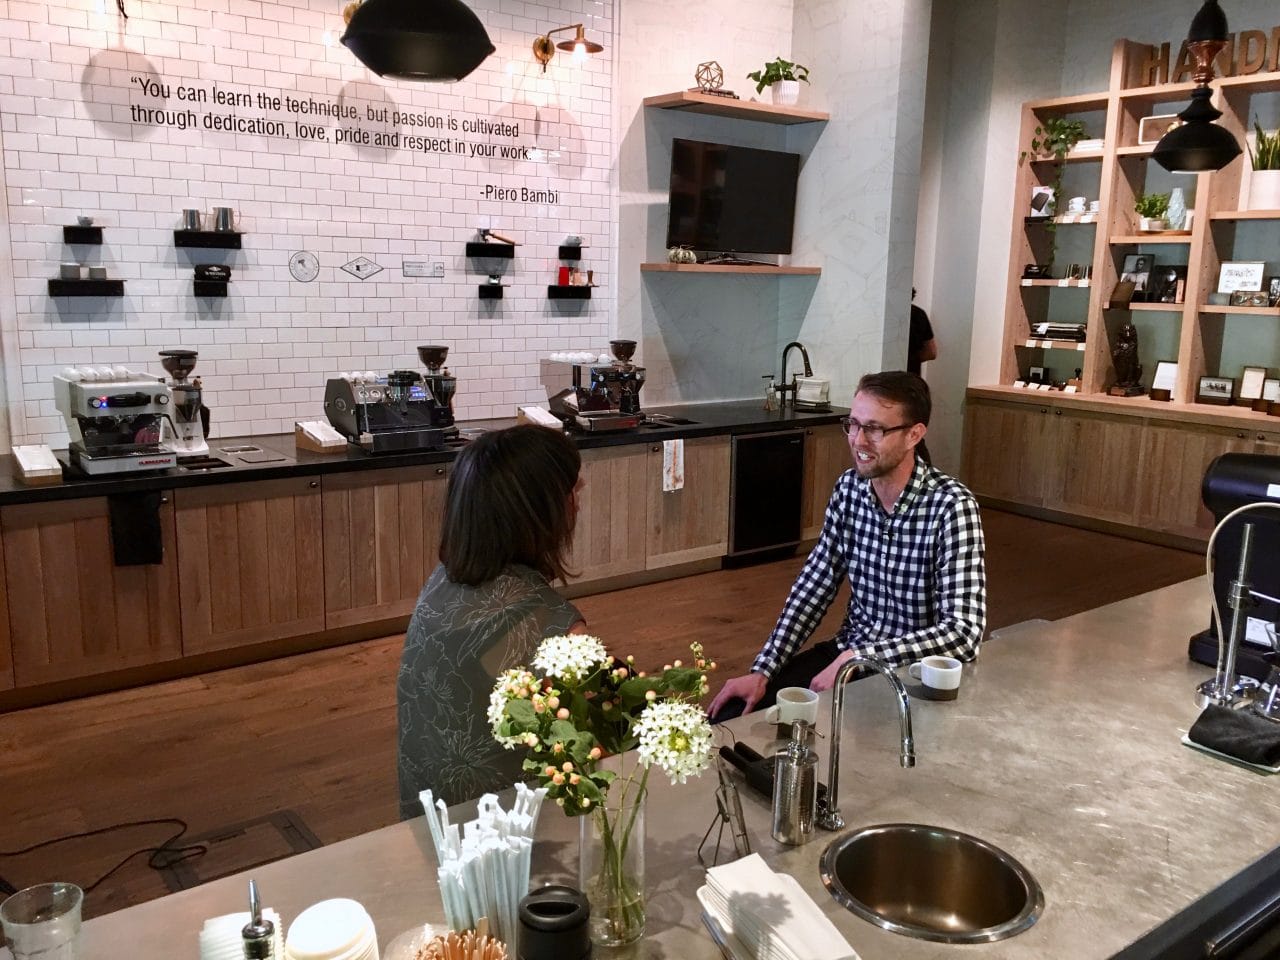
The first ingredient for a memorable shoot is location. We focus on making it work in our own studio. When we look at how professional interviews are shoot, we notice that often the background has some visually interesting pieces that are deliberately designed to compliment the subject. In our case, though, we often end up shooting against a white wall which is probably not ideal, but at least it has some texture. In the right lighting, it looks quite nice.
We are blessed with a great studio space with plenty of light, but this isn’t always a good thing. In the summer, at certain times of day, the sunlight shines in and this isn’t very pleasing. So, if you have lots of natural light, you’re going to need blinds.
Finally, you’ll almost certainly need lights. If the focus is on the subject alone, we use three lights and set up a standard three-point lighting (Check YouTube for tutorials). However, in our studio, we prefer to show people sitting alongside one another in more of a conversational format. The means we generally light everyone from the front, moving lights around until they look good. We mostly rely on a pair of Genaray SpectroLED Studio 500 Bi-Color LED lights. These are nice because you can adjust both the brightness and color temperature, helping us to match the natural lighting from all our windows. Your mileage may vary.
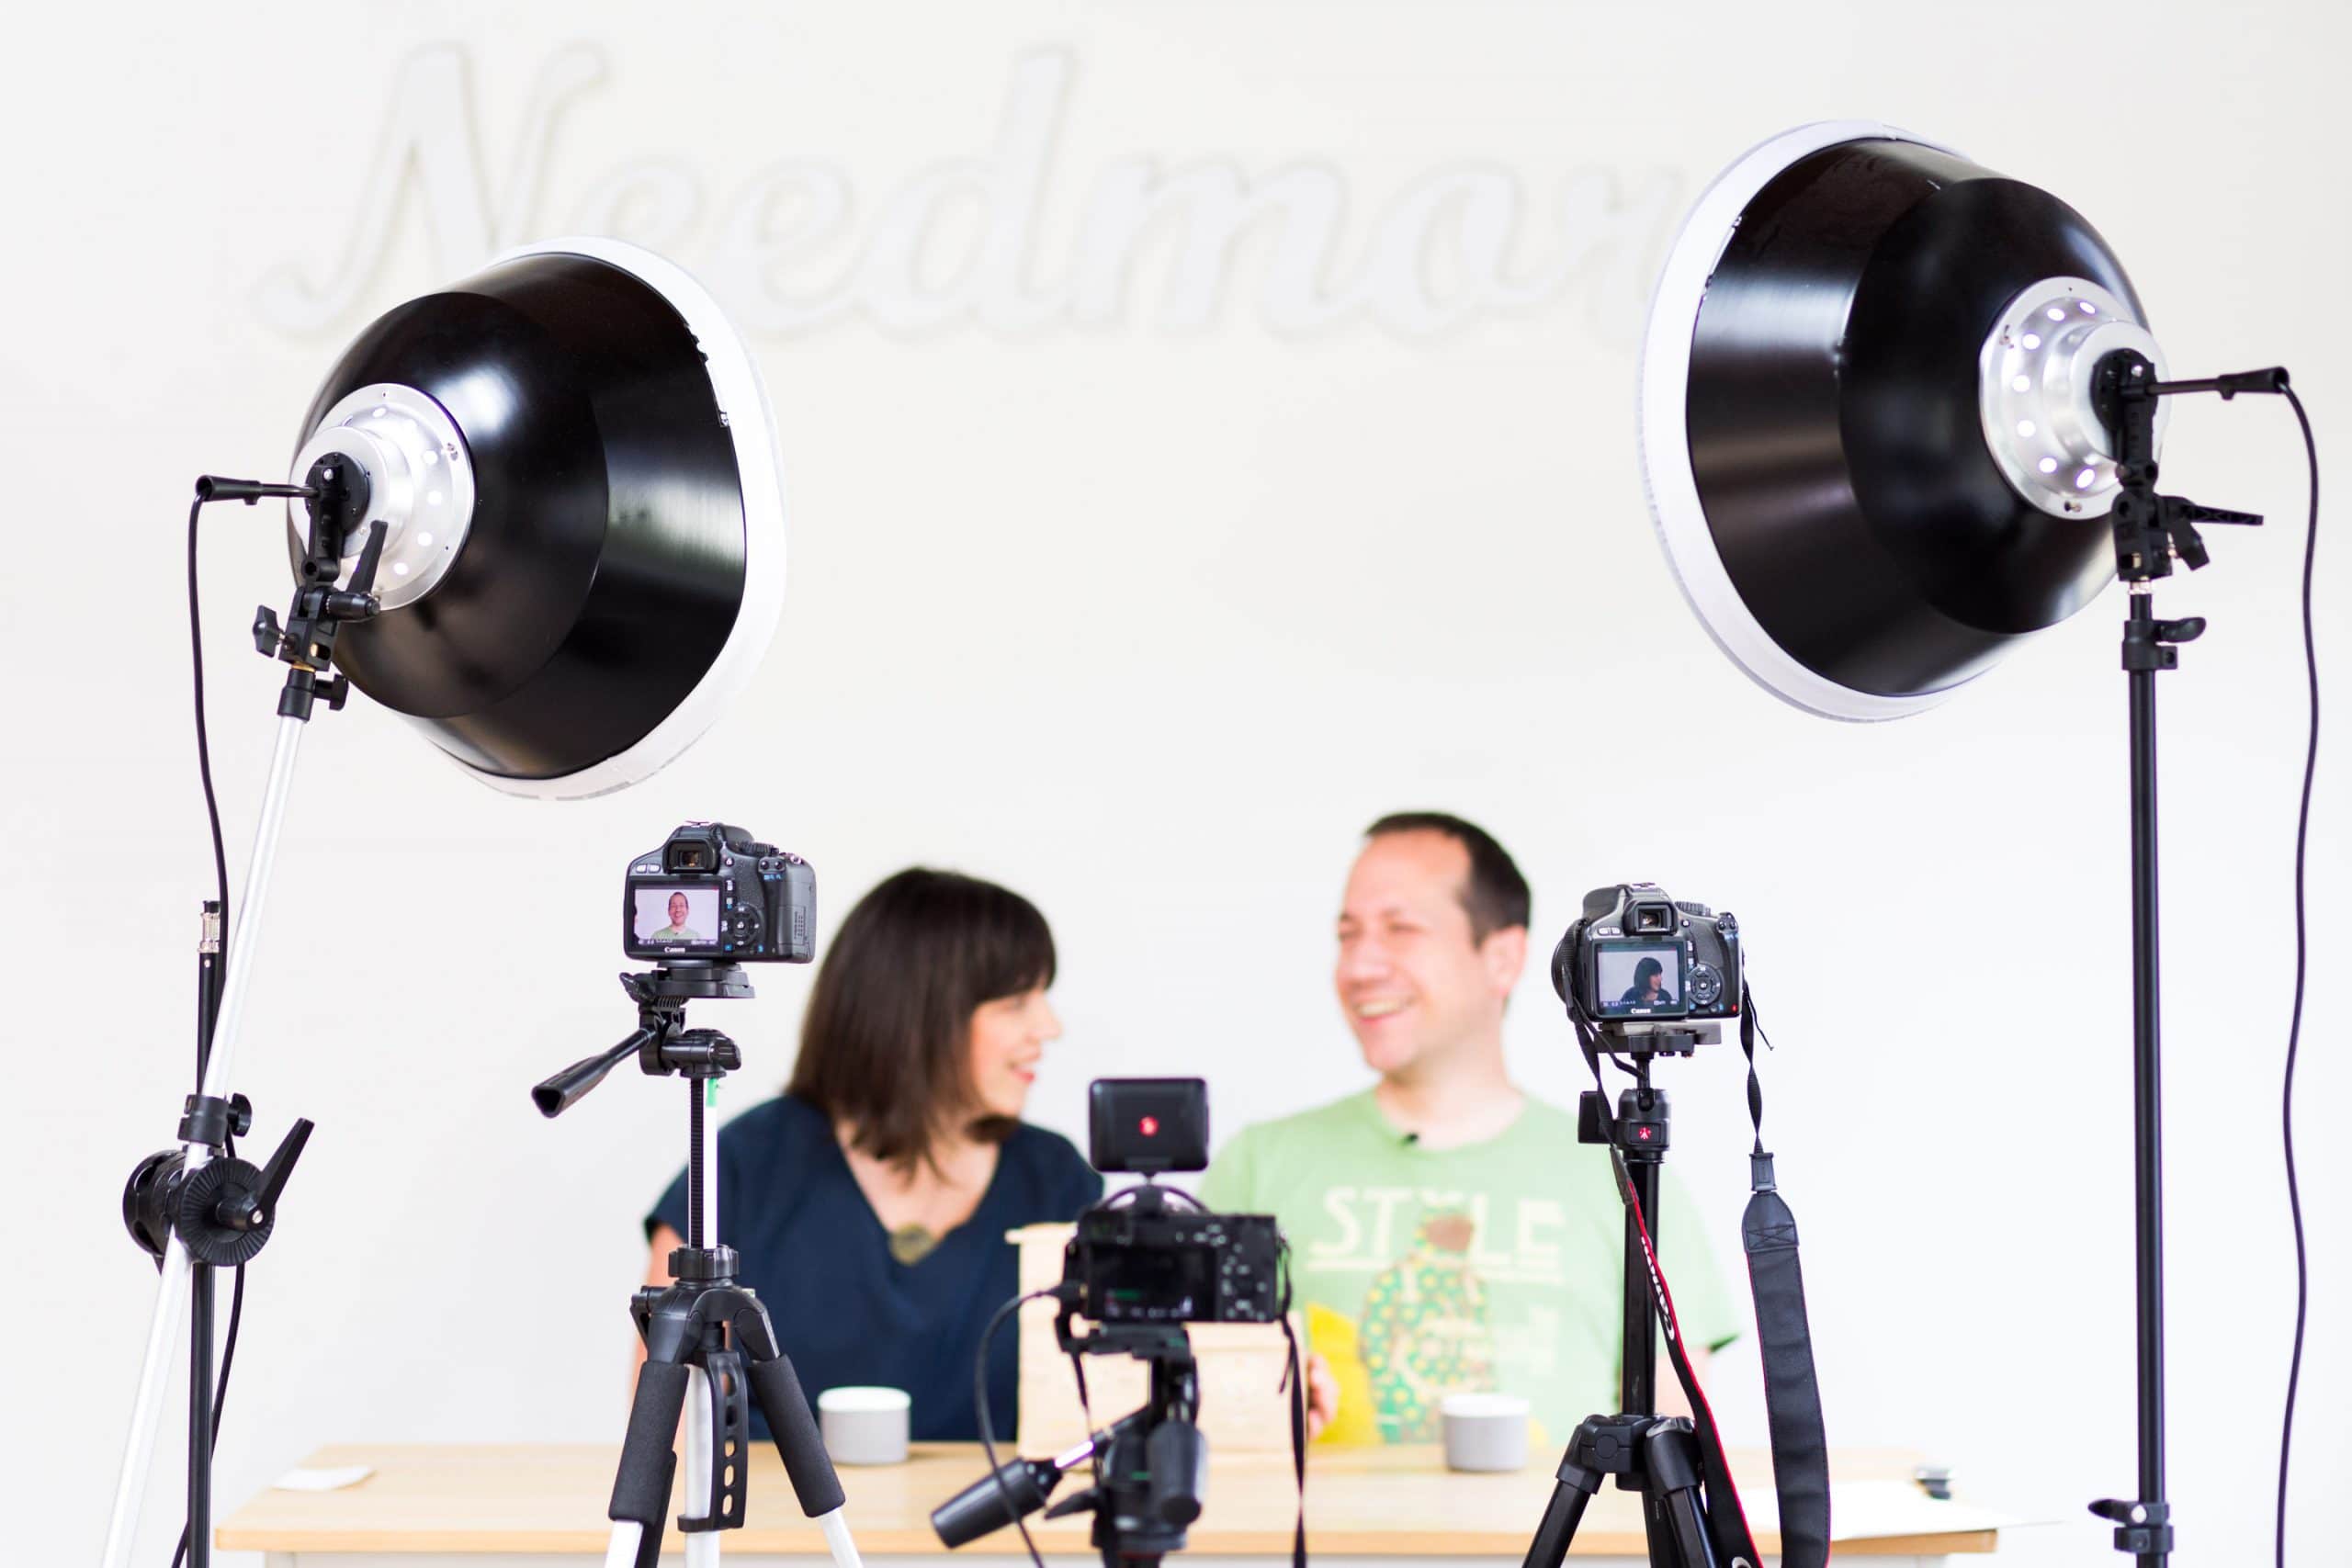
Whatever you choose, you want to be sure you get a nice, even, diffuse lighting since this is the most flattering on people. You’ll also need to be sure to get stands for the lighting. This lets you adjust their position and angle.
Audio
Never underestimate the importance of sound. For this, we have a dedicated sound recorder, the TASCAM DR-40, which can be configured to record both two microphone inputs as well as the room sound, all in stereo. This is a helpful backup because, if something goes wrong with the microphones, at least we have a good recording of the room.
In terms of microphones, it’s easy when recording two people. Just use two lavalier microphones (these are the type that clip on to your shirt and, because they are pretty close to your mouth, they get a reliably good sound). Prices vary widely, but if you get a pair that have XLR connectors, they plug right into the TASCAM device. This gives you a fair number of good options for sound. Do note that you may also need to pick up clips to attach them to clothing if these are not included. The audio recorder can be mounted via a threaded camera-style connector, which we use to prop it up on a small Manfrotto tripod, just to be sure the room sound is decent.
Video
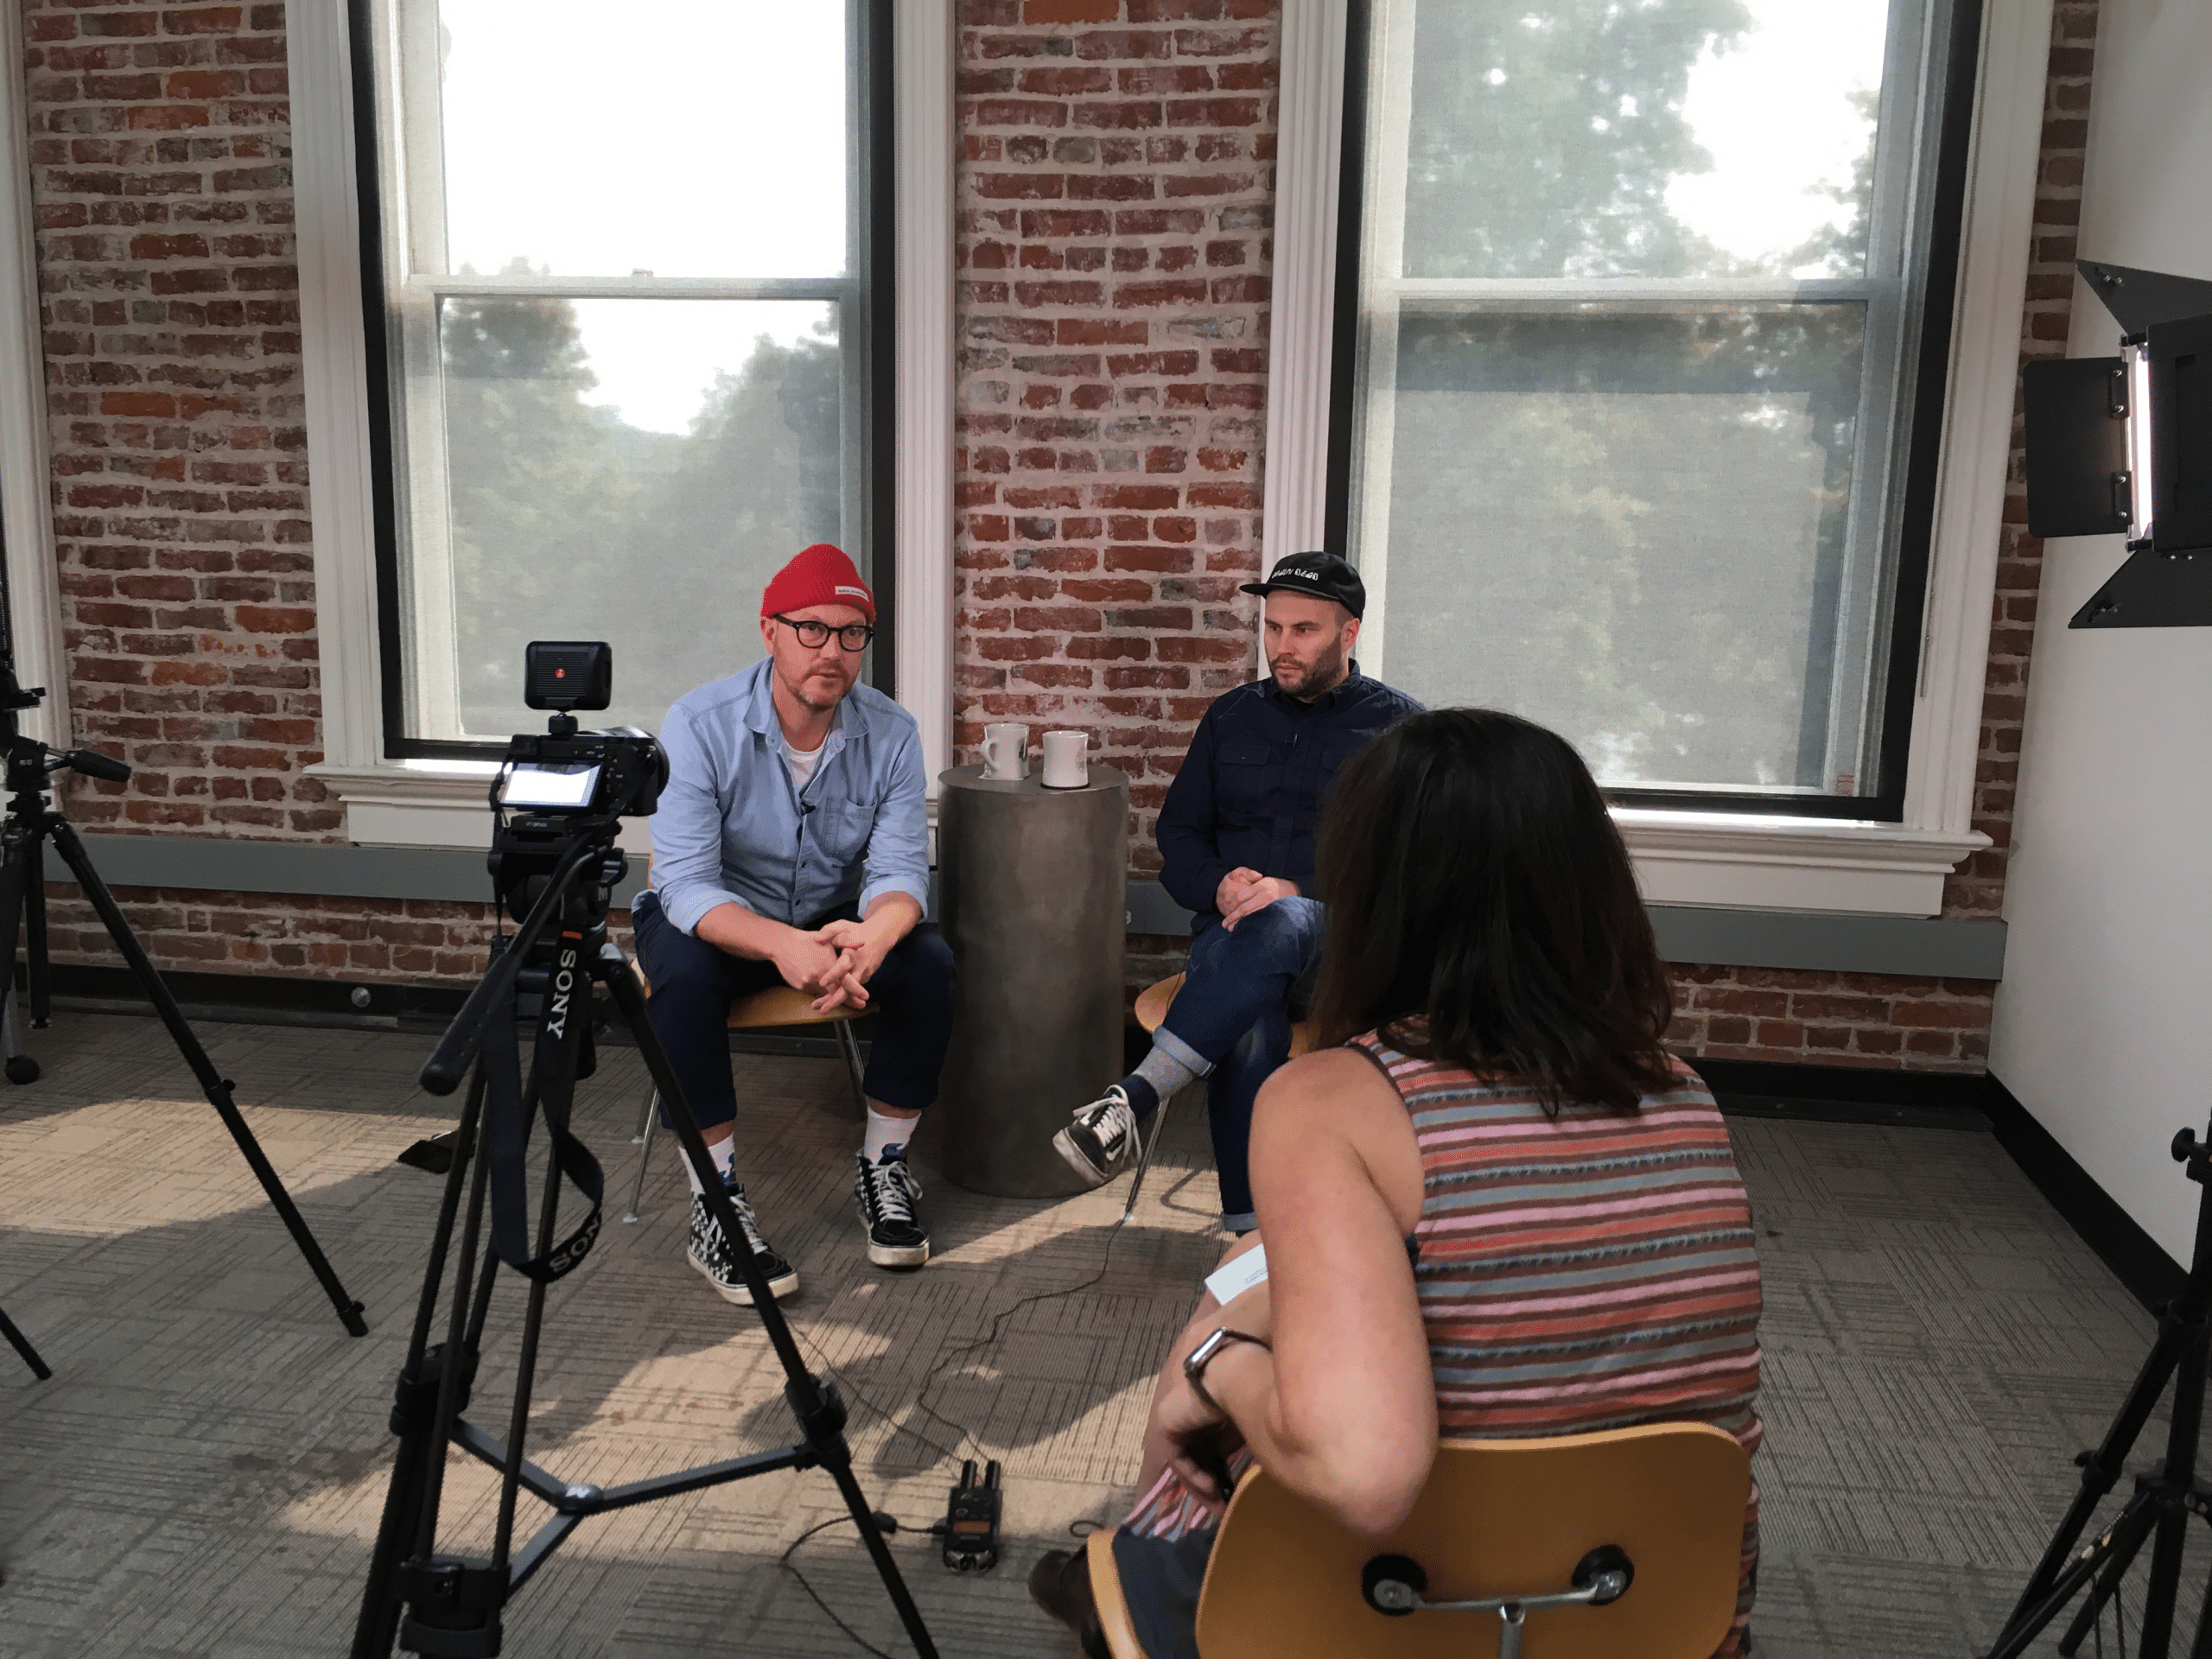
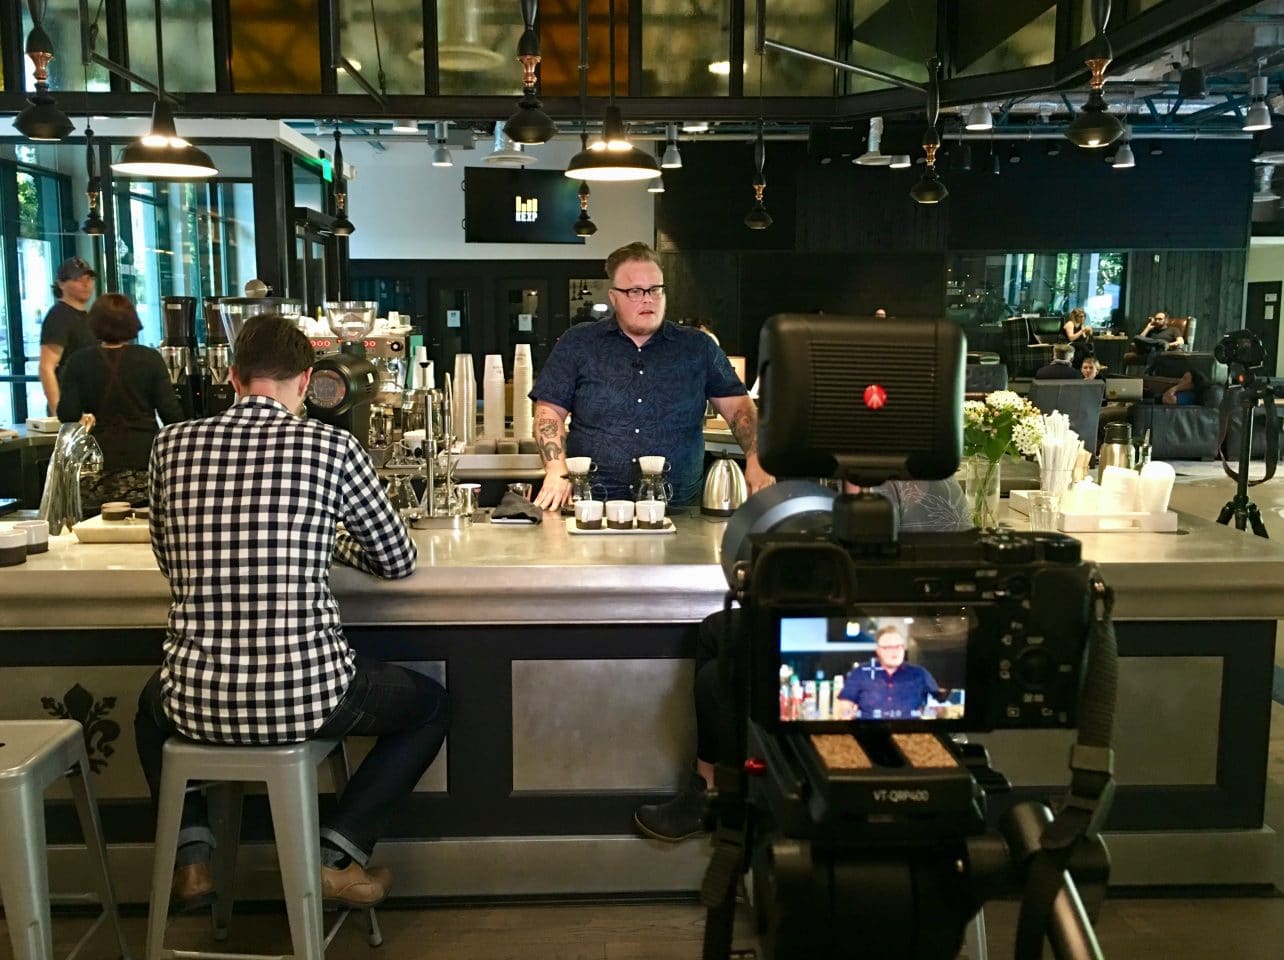
We often have an interviewer alongside one or more guests which means we usually use a three-camera setup. We point one at the interviewer, one at the guest(s), and one is positioned to pick up the whole group. (In editing, you can easily sync this footage into multicam which lets you switch between the angles on the fly and makes your video much more interesting.)
At times, we’ve shot using our iPhone, with FiLMiC Pro. It’s a decent app. It allows you shoot video at a much higher quality than the native iPhone camera app, but can be a bit daunting to get started with. For example, we kept having issues importing the video for some reason. It’s also a bit dicey to rely on a phone in general since you have to check so many settings to make sure nothing interrupts your recording. Also, it’s rather handy to keep your phone free for other purposes. The biggest problem with iPhone shooting is the angle of the lens. This is a little better on iPhones that have two lenses, but still not ideal.
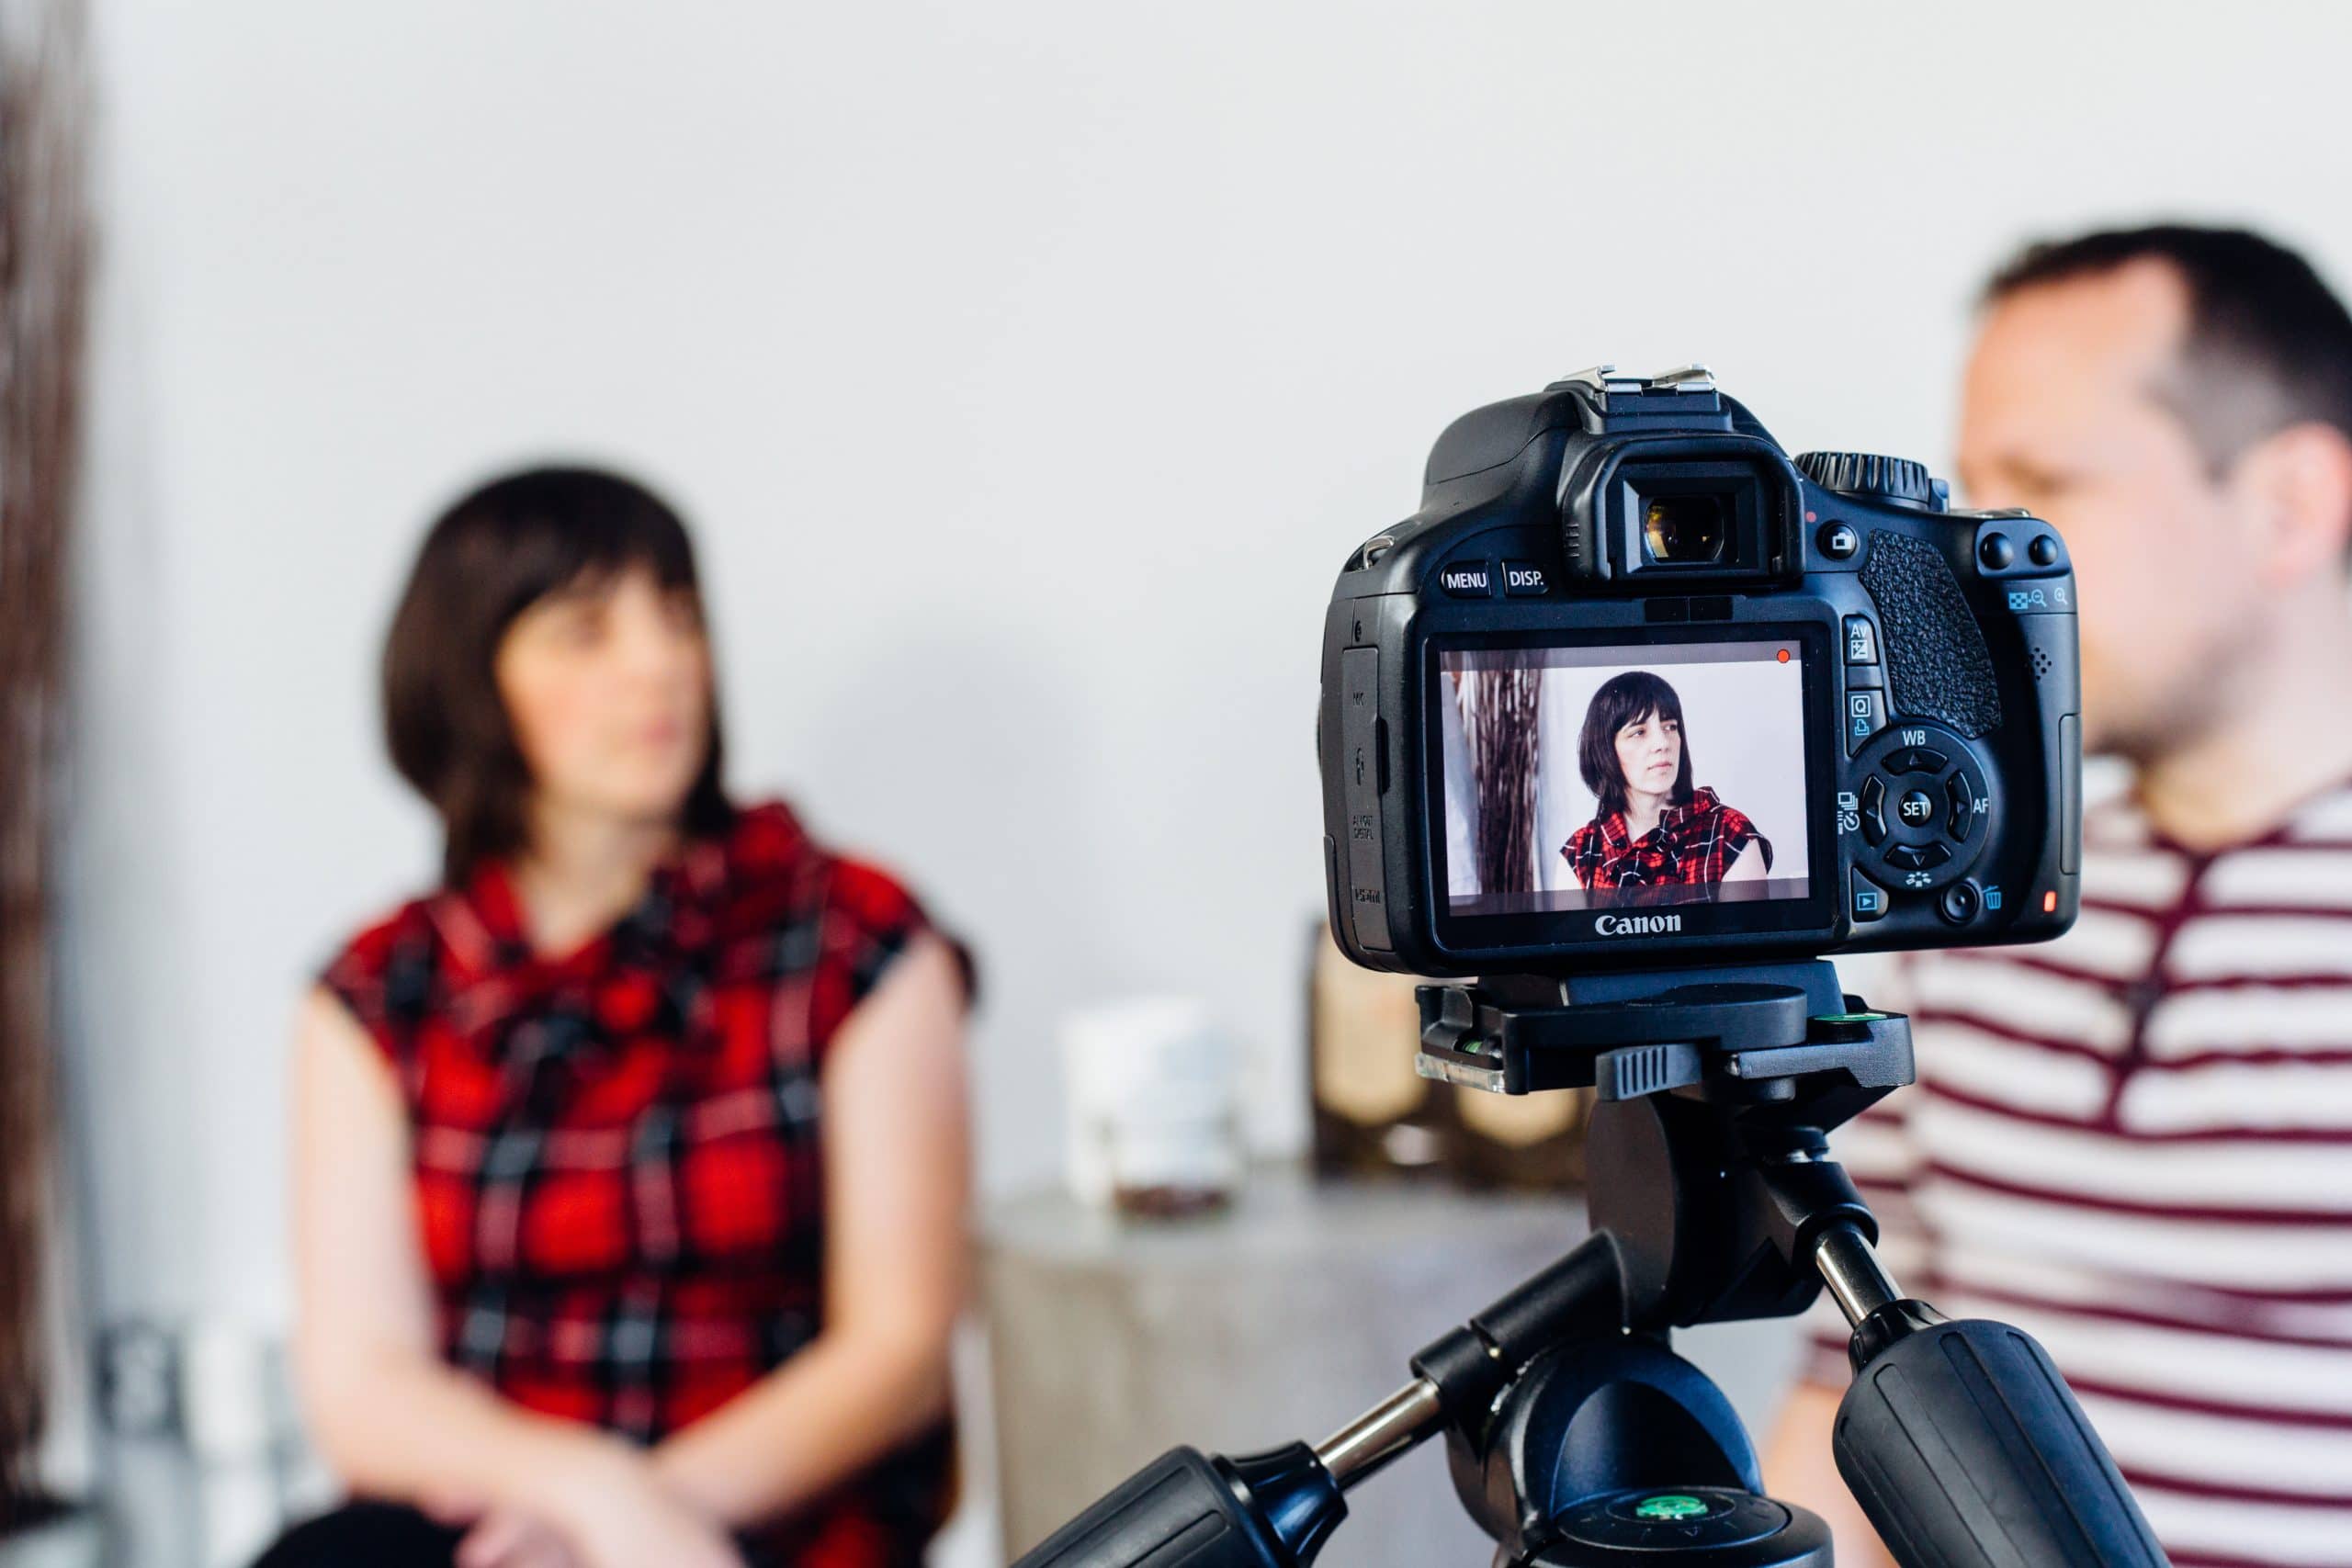
For the side angles, covering the individuals being interviewed, you want a lens with an angle of at least effectively 50mm. We shoot those angles on no-frills Canon cameras (basically older versions of the Rebel T5i) with 50mm lenses, but because of the “crop frame” on these cameras, we’re actually shooting at an effective angle closer to 75mm. This lets you get very sharp focus on the subject, and blur the background out a lot, if that’s the look you want. You have to be careful, however, because if you aren’t quite there with the focus, it’s kind of a disaster. Also, these cameras have very poor viewfinders and I’ve been burned a few times here.
Using a phone on a tripod, and with other equipment, is easy with Studio Neat’s Glif. Not only can you secure the phone to a tripod, but you can also attach a light or microphone to the other end. It’s even possible to connect both. Another thing you can do with it, and a small adapter, is connect it to the top of your DSLR camera. This lets you basically treat it as a backup camera if you need to.
The iPhone is well suited to the wider, center angle. We also have a Sony a6300 that we often use in the center, with a few different lenses. I can’t really recommend this camera for that purpose because it is prone to overheating when shooting 4K video. The world of DSLR cameras that shoot video is a large one, but it’s probably worth ensuring yours can at least shoot 4K video, because that’s the direction everyone is heading.
Editing
Editing the video is done in Final Cut Pro X, which is not only incredibly affordable but supremely powerful. The latest versions have addressed virtually every shortcoming, and we’ve not found a better tool for multicam. You can basically pick all the video and issue a command, and the software will sync it into multicam for you, both video and audio. Once you’ve done so, you can switch angles by a single click or press of a number key, and revise your cuts at any time.
Beyond that, the only other tool we routinely use is Compressor, which is bundled with Final Cut Pro X. It contains plenty of decent presets for saving out video for needs you might have beyond what Final Cut Pro is capable of. We use various other tools sometimes to add music to our work, but GarageBand works fine and is free.
Accessories
Naturally, your cameras will all need tripods. For this type of work, you don’t really need anything fancy because you’re not moving them around much. Just good solid tripods will do (and they can even be portable if you’re doing location shooting at all).
Don’t forget to buy plenty of memory cards of the right kind. Some video shooting requires very fast cards, be sure you’re getting cards that are fast enough, and with enough capacity. If you’re importing footage into a modern Mac, you might also have to get a USB-C adapter to import audio or video from your cards.
That’s a Wrap
Overall, it is possible to put together a simple video toolkit that can be easily transported to new locations. We’d suggest assessing the materials you have on hand and then adding pieces to ensure your lighting, audio, and editing are all up to snuff.